
Conch Piercing Jewellery Guide for Better Fit
A conch piercing can be the centrepiece of a curated ear, but it is also one of the placements where the wrong jewellery shows immediately. A hoop that is too wide can look detached from the ear, while one that is too tight can press uncomfortably on the cartilage. This conch piercing jewellery guide focuses on the details that make a piece feel as good as it looks: fit, gauge, materials and the point at which you can safely switch up your style.
Conch piercing jewellery guide: start with fit
The conch sits in the broad cup of cartilage at the centre of the ear. Most people mean an inner conch when they talk about this piercing, although outer conch placements also exist around the flatter cartilage edge. It is a versatile placement, particularly if you love the look of a hoop that appears to wrap around the ear.
Your initial jewellery will usually be a flat-back labret rather than a ring. There is a practical reason for that choice. A straight post leaves room for early swelling and moves less than a hoop, which helps keep a fresh piercing calm while it heals. A well-fitted flat back is also wonderfully comfortable for everyday wear, including sleeping.
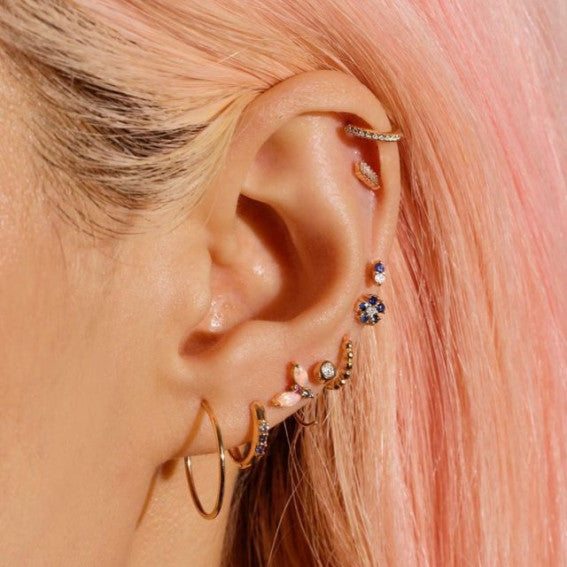
Once healed, the choice is much wider. A neat clicker hoop gives that classic conch look, while a gemmed labret, star, heart or subtle crystal design adds detail without changing the silhouette of your ear. The best option depends on the anatomy of your ear and whether you want the conch to be a statement piece or part of a more layered look.
Gauge: match the piercing, not the trend
Conch piercings are commonly performed at 1.2mm, also called 16 gauge. That is not a rule to guess by, however. Jewellery should match the gauge used by your piercer, especially when you are replacing a first piece. Forcing a thicker bar into a healed piercing can irritate it, and a thinner piece may sit differently or gradually allow the channel to shrink.
If you are unsure, ask your piercer or measure the jewellery you already wear successfully. The gauge is the thickness of the post or hoop, not its overall size. It is a small detail with a big impact on comfort and security.
Post length: leave room, then refine it
For a fresh conch, your piercer should allow enough post length for swelling. That first bar can look slightly longer than you would choose for a finished look, and that is completely normal. Changing it too early for a shorter, prettier post is not worth the setback.
After swelling has settled, a professional downsizing appointment can make the piercing feel far more comfortable and polished. A post that is excessively long can catch on hair, headphones and towels. A post that is too short can cause pressure. There is no universal length because ear anatomy varies, so the right fit is one that sits securely without digging in or dangling.
Choosing a conch hoop diameter
Hoop diameter is where style meets anatomy. Inner conch hoops often fall around 8mm to 12mm, but the right measurement depends on the distance from your piercing hole to the outer rim of your ear. An 8mm hoop can look sleek and close-fitting on one ear, yet be uncomfortably tight on another.
If you are moving from a stud to a hoop for the first time, do not select a diameter based only on a product photograph. Measure the distance across the area the ring will travel, or have a piercer check the fit. Build in a little breathing room rather than aiming for an ultra-snug circle. Cartilage does not appreciate constant pressure.
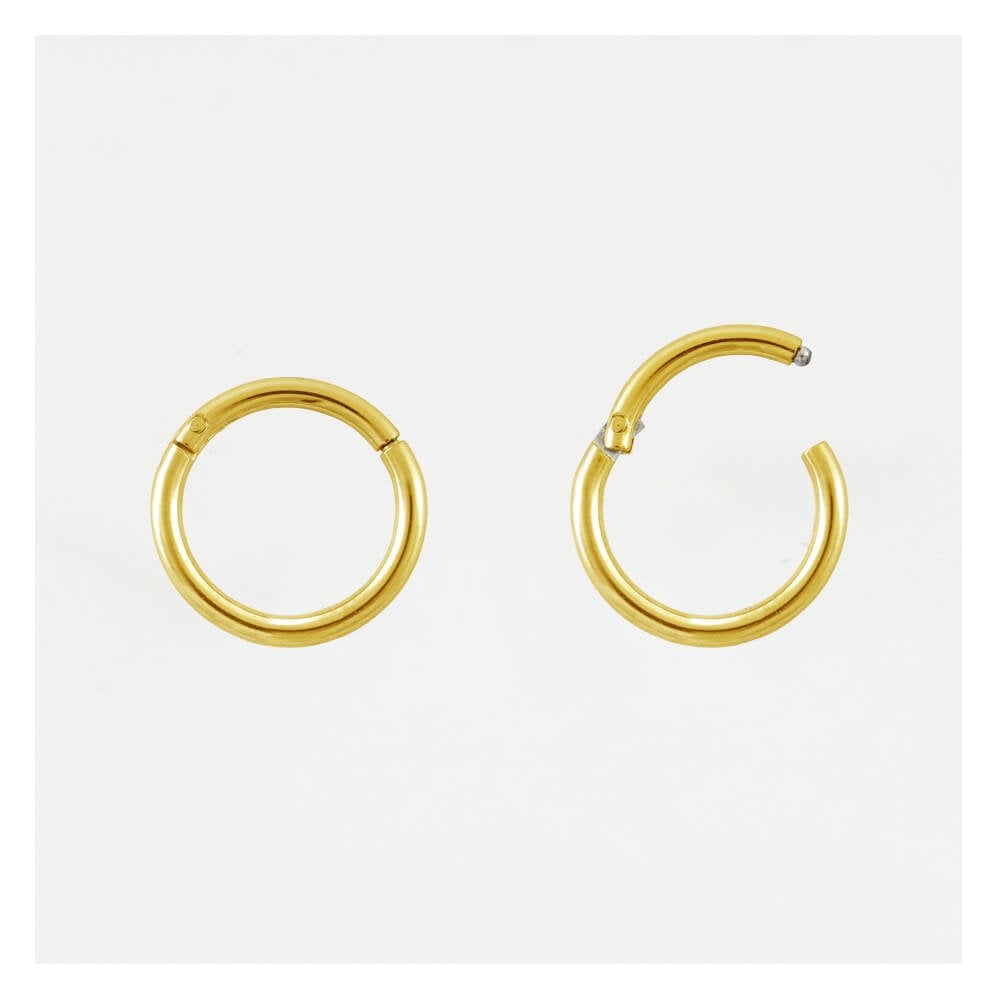
A smaller hoop creates a clean, modern finish and works beautifully with minimal lobe stacks. A larger diameter feels more relaxed and can balance a busy ear with helix, tragus or lobe jewellery. Clicker rings are a popular choice because the hinged segment closes neatly, avoiding the gap or fiddly ball of traditional captive bead rings.
Pick materials with your healing stage in mind
Material matters most when the piercing is new, irritated or prone to sensitivity. Fresh cartilage piercings need jewellery selected by a professional piercer, typically in a body-safe material such as implant-grade titanium or appropriately specified solid gold. The finish, polish and construction are just as relevant as the metal itself.
For healed conch piercings, you can enjoy more of the fashion-led options that make a curated ear personal. Solid 18k gold offers a rich, elevated look and suits anyone building a warm-toned jewellery collection. Sterling silver can be a beautiful choice for fully healed piercings, especially if you prefer cool-toned shine, but it is not usually the first choice for a healing piercing. It can tarnish and is not suitable for everyone with metal sensitivities.
Be careful with vague descriptions such as "gold tone" or "silver tone". They describe colour, not necessarily quality or skin suitability. Choose pieces made for body jewellery, with smooth surfaces and secure closures, rather than adapting ordinary earrings for cartilage wear. That difference is often what separates a piece you reach for daily from one that ends up at the bottom of a jewellery box.
Stud or hoop: which conch style suits you?
A flat-back stud is the understated choice, but understated does not have to mean plain. Tiny clear stones, bezel-set opals, celestial shapes and polished gold discs all bring light to the middle of the ear. Studs are ideal if you wear over-ear headphones, sleep on that side or simply want a lower-maintenance everyday piece.
Hoops create more visual impact. A plain gold clicker feels refined, a pavé ring adds sparkle, and a textured or gothic-inspired design can give a curated ear real personality. Because a conch hoop frames the ear, it is often enough on its own. If you add more jewellery, try balancing it with smaller pieces in the helix and lobe rather than competing with it everywhere.
There is no need to commit to one style. Many people keep a well-fitting stud as their weekday staple and switch to a hoop for dinners, events or whenever they want their ear stack to feel more dressed up. Just make changes gently and only once the piercing is properly healed.
When can you change conch jewellery?
Conch cartilage can take six to 12 months to heal fully, and occasionally longer. It may look fine on the outside before the piercing channel has settled inside. Tenderness, crusting, redness after knocks and ongoing swelling are all signs that it is not ready for frequent jewellery changes.
The first jewellery change is best done by a professional piercer. They can assess whether healing is complete, fit the new piece without trauma and advise if a hoop is suitable yet. This is especially worthwhile if your original bar needs downsizing or you have had irritation bumps.
For healed piercings, wash your hands before touching the jewellery and avoid twisting it unnecessarily. If a threaded end will not catch easily, or a clicker feels difficult to close, stop rather than forcing it. A little help from a piercer is preferable to scratching the channel or cross-threading a post.
Keep your conch jewellery looking its best
Good jewellery deserves uncomplicated care. During healing, follow your piercer's aftercare advice and use sterile saline as recommended. Do not use harsh antiseptics, alcohol or homemade salt mixtures, which can dry out and aggravate cartilage.
Once healed, clean jewellery periodically with warm water and a mild soap, then dry it thoroughly. Remove sterling silver before swimming where possible and polish it carefully if tarnish appears. Check clickers, threaded ends and stones from time to time, particularly before travelling or a busy weekend, so a favourite piece stays secure.
The right conch jewellery should feel like part of your ear, not something you are constantly aware of. Start with a professional fit, invest in a material that suits your skin and let the design do the styling - whether that means a delicate gold stud or a hoop with enough presence to carry your whole curated ear.