
How to Fasten Captive Rings Without the Fuss
A captive ring should feel like a small, satisfying click into place, not a wrestling match at the bathroom mirror. If you are wondering how to fasten captive rings without dropping the bead, pinching the metal or irritating your piercing, the secret is less about force and more about using the right technique, jewellery and tools.
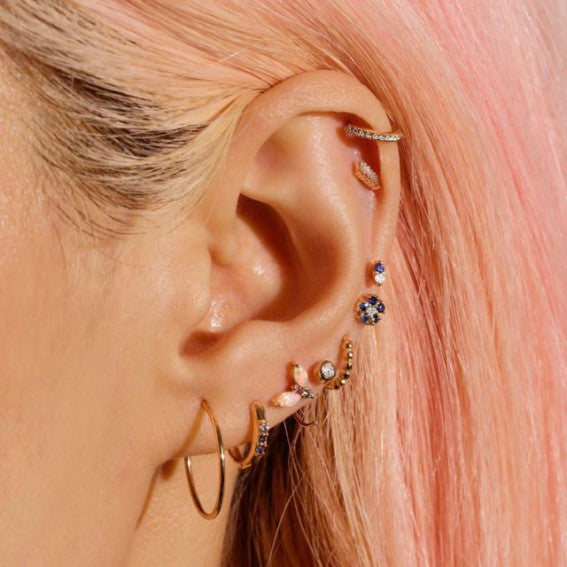
Captive bead rings are a classic for good reason. Their clean circular shape works across many placements, from septum and nostril piercings to helix, conch, tragus, nipple and certain lip piercings. They can look minimal in polished silver or gold, or become the focal point of a more styled ear when paired with a decorative bead. But unlike clickers or hinged hoops, the bead is held in place by tension, so fitting one requires a little patience.
First, check that it really is a captive ring
A true captive bead ring, often shortened to CBR, has an opening at the front and a separate bead with two small dimples. The ends of the ring sit inside those dimples, creating tension that keeps the bead secure.
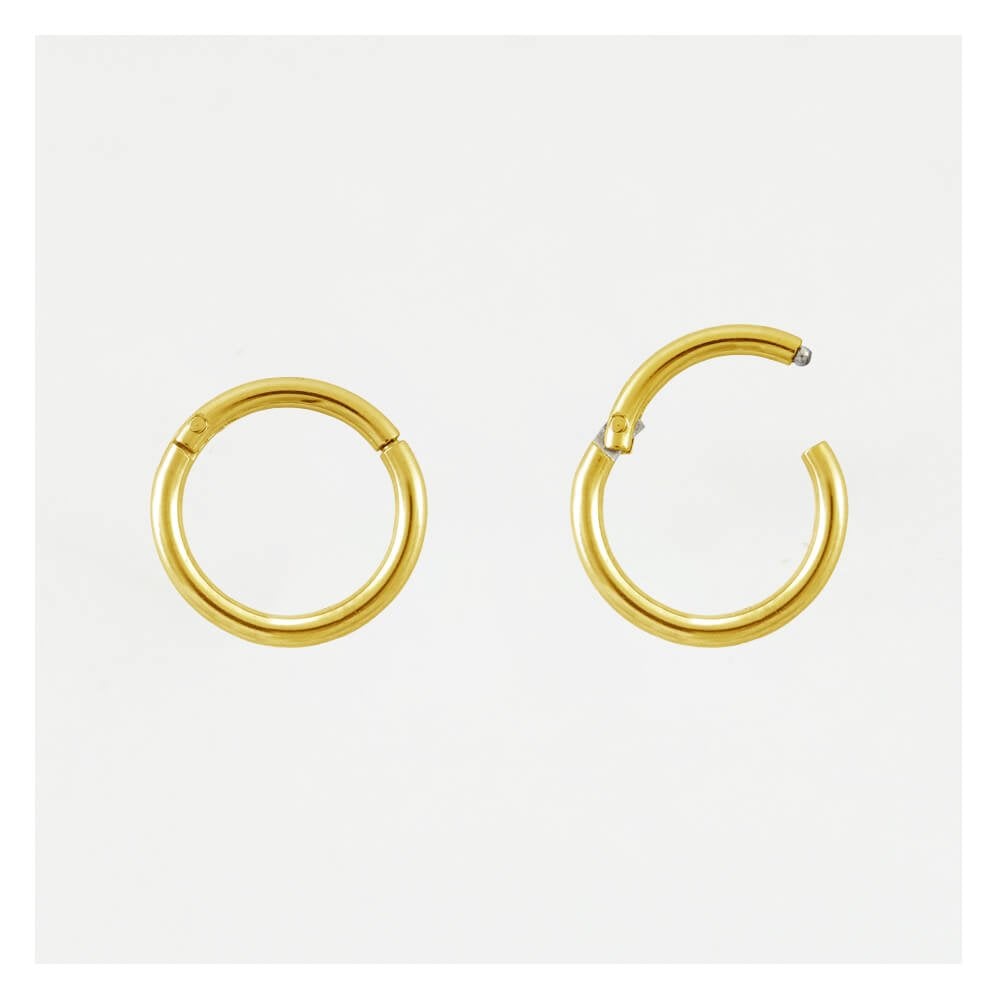
This is different from a segment ring, where a curved section of the hoop comes out, or a clicker, which has a hinged bar. If your jewellery has a visible hinge or one end is permanently attached, do not try to fit it as though it were captive jewellery. Forcing the wrong mechanism can bend the piece or damage a delicate clasp.
Before you begin, make sure the gauge and diameter suit your piercing. A ring that is too thick will not pass through comfortably, while one that is too small in diameter can sit tightly against the skin and cause pressure. The right fit should look intentional while leaving enough room for your anatomy and any natural swelling.
What you need before fastening a captive ring
Clean hands and a calm, well-lit space make more difference than most people expect. Put a clean towel over the surface below you or work over a basin with the plug in. Captive beads are tiny, bouncy and remarkably good at disappearing.
For larger-gauge jewellery, firm rings or fiddly placements, proper ring opening and closing pliers are the sensible choice. Experienced piercers use them because they control the tension of the ring without twisting or marking the metal. For a small, fine ring that opens easily, clean hands may be enough.
Have these ready before you start:
- clean, dry hands and a wiped-down surface
- the ring and matching captive bead
- a mirror with good lighting
- ring opening or closing pliers, if your jewellery needs them
- saline aftercare spray if the piercing is still settling
How to fasten captive rings step by step
Start by examining the bead. You should see a small indentation on each side. These are not screw threads. They are the points that receive the two ends of the ring.
Hold the ring so the gap is accessible. If you need to open it slightly, pull the ends sideways away from one another rather than stretching them directly apart. Think of opening a curtain: one end moves towards you and the other moves away. This keeps the circle’s shape intact.
Pass the ring through the piercing slowly. If there is resistance, stop. A healed piercing should not need force, and a fresh or irritated piercing should not be changed at home. Recheck the gauge, the opening and the angle instead of pushing through discomfort.
Once the ring is in place, hold it steady with the gap facing you. Pick up the bead and position one dimple over one end of the ring. Keeping that first side seated, guide the second dimple towards the opposite end.
Now gently bring the ring ends closer together until the second end clicks into the bead. You are looking for firm tension, not crushing pressure. The bead should sit centred in the gap and spin only with a little resistance. If it falls out, the ring is too open. If the bead will not enter at all, the ring is probably too tight or the bead is not aligned with the ends.
Take a moment to check the finish. The ring should remain round, the bead should be straight, and there should be no sharp edge catching on skin, hair or clothing. A correctly fastened captive ring is secure but not impossible to remove later.
The easiest way to hold the bead
The bead is often the difficult part, particularly for a nostril, tragus or forward helix where you cannot see both sides clearly. Try holding it between your thumb and forefinger with the dimples facing left and right. Seat the far dimple first, then use the tip of your finger to press the near side into place.
If your fingers keep slipping, clean and dry the bead rather than adding creams or oils. A slightly damp piece of tissue can help you grip a polished bead while you line it up, but do not leave fibres around the piercing.
For ear placements, it can be easier to position the bead at the front where you can see it, then rotate the ring gently once it is secure. For a septum or nipple piercing, choose the position that feels easiest to reach and most comfortable against your clothing.
When pliers are the better option
Pliers are not a sign that you have failed at changing your jewellery. They are simply the right tool for jewellery with stronger tension, thicker gauges or a larger diameter. A quality captive ring needs enough spring to hold its bead safely, and that tension can be hard to manage by hand.
Ring opening pliers expand the gap evenly; ring closing pliers bring it back together. If you are using them, cover polished jewellery with a clean soft cloth where appropriate and make tiny adjustments. Opening the ring too far changes its shape, and repeatedly bending a precious-metal piece can weaken it over time.
For gold or sterling silver designs, take extra care. These metals are chosen for their elevated look, but they can be softer than implant-grade titanium or surgical steel. If the ring feels stubborn, a professional piercer can fit it cleanly in moments and check that the style works for your placement.
Common mistakes that make captive rings difficult
The most common mistake is pulling the ring ends directly apart. This turns a neat circle into an oval and makes the bead sit poorly. Sideways twisting is the correct movement.
The next is mixing up beads. Captive beads are made for a specific gauge and ring tension. A bead from another ring may look nearly identical but still be too loose or too tight. Keep matching pieces together, especially if you own several sizes or finishes.
It is also easy to overtighten the ring because you want the bead to feel secure. Too much tension can make the jewellery difficult to remove and can put unnecessary pressure on the bead. Aim for a secure click, then test it gently rather than squeezing again.
Finally, do not change jewellery in a piercing that is painful, swollen, hot or producing unusual discharge. This includes piercings that seem healed on the outside but still feel tender inside. Jewellery changes can disturb the channel, so let a professional assess it if you are unsure.
Choosing a captive ring that is easier to wear
The easiest captive ring is one selected for the right placement, anatomy and lifestyle. A small plain bead is usually simpler to fasten than a large decorative shape, while a slightly larger diameter may be more forgiving during fitting. That does not mean bigger is always better: oversized rings can move too much and catch on hair, headphones or clothing.
Material matters too. Premium, body-safe jewellery with a smooth finish gives you a more comfortable wearing experience and helps you build a polished look that lasts beyond one outfit. If you love the clean line of a ring but want less fuss during changes, a hinged clicker may suit everyday wear better. Captive rings remain a brilliant choice when you want that uninterrupted hoop shape and the option to swap the bead for a different finish or detail.
London Loves Body Jewellery curates pieces with placement, quality and style in mind, because the best jewellery should look considered and feel wearable. If a captive ring is the right match for your piercing, take your time with the first fitting. Once you understand the tension-and-bead mechanism, that satisfying click becomes much easier to achieve.